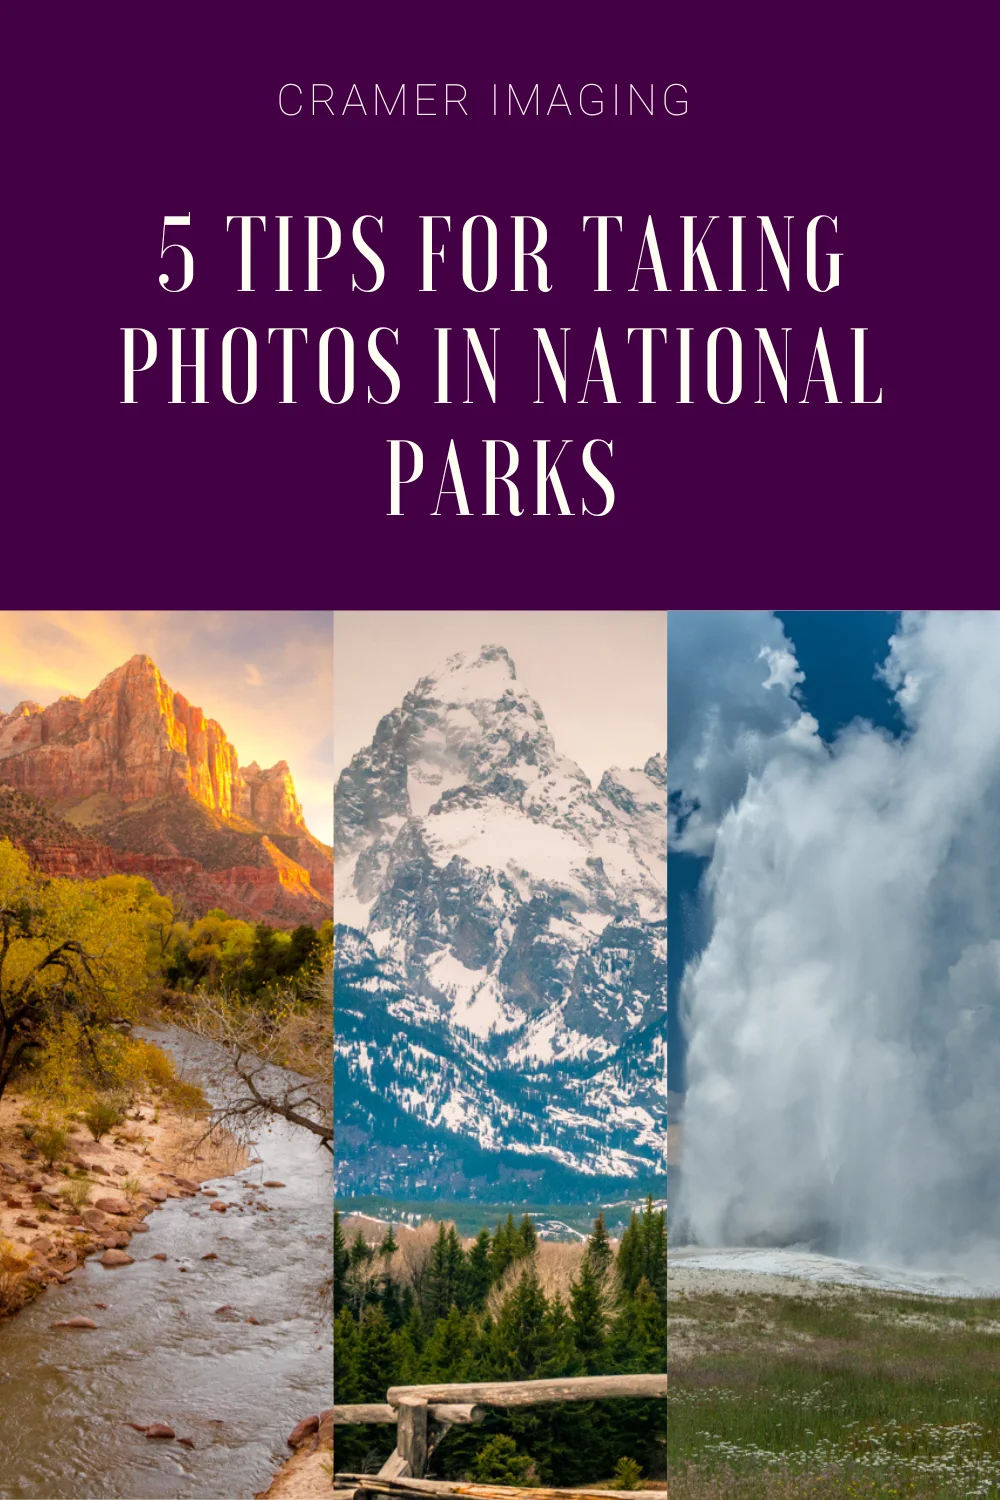
Over the past couple of years, I’ve had the opportunity to visit 5 United States National Parks as part of a photography project or simply other business taking me to close proximity. During these numerous visits I’ve learned a few things about landscape photography in some the most beautiful places on earth. Today, I’m sharing my top 5 tips for taking photos in national parks.
5. Listen to Park Ranger Advice

I’ve learned that park rangers are very familiar with the area where they are assigned to work. This means that they’ve probably seen most, if not all, the scenic vistas you might want to photograph. They can tell you which places are worth visiting no matter how much time you have. They also know when the most beautiful areas of the park are at their most photogenic. If you follow this advice, you’ll save yourself many hours of scouting the place out yourself.
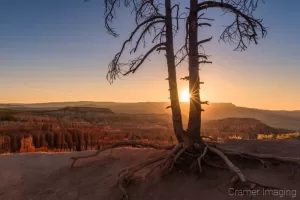
I took this photo of a very iconic part of Zion National Park thanks to park ranger (or should I say tram driver) advice. Thankfully, I checked that portion of the park out earlier that day and found the mountains in shadow. I dismissed it until I heard the tip. The park ranger knew that the late afternoon light was key to getting this shot. Because I listened, I now have this beautiful landscape photograph.
4. Don’t Go During the Heat of the Day or During Super Crowded Times
Ever been to Yellowstone National Park on Memorial Day? I have. It took us no less than 30 minutes to get from the last stoplight (right next to the park border) to the gates about 100 yards into the park.

Yellowstone probably the single biggest national park in the United States and Memorial Day is a very popular time to go. I didn’t get to see many parts of the park which I wanted to see such as the Sulphur Caldron, Grand Prismatic Springs, Tower Falls, and Mammoth Springs. There just wasn’t enough time or parking available for that day trip.

I’ve also been out to desert national parks such as Zion, Bryce Canyon, and Capitol Reef during the heat of the day. They’re still very much deserts despite any elevation changes. They’re still miserable during the heat of a summer day. I don’t want to be out there at all. Personally, I would rather be in an air-conditioned location.

I got this shot of Bryce Canyon’s Sunset Point during a busy August evening. There was barely room along the edge of the canyon for me to squeeze in with my camera and hand-hold the shot. The area was full of tourists all taking similar shots to this one. There were even people on the trail taking selfies while I was taking this shot. If you want to get good landscape photos, avoid the crowds during peak times of park visitation. You’ll have much more flexibility for your photos.
3. Seek Out Less Visited Locations
Every national park has its popular places to visit. These are generally easy for most of the public to access without special training or gear. Every park has its not-so-popular attractions as well. The majority of these places are difficult to get to or require special gear/training to make the trek. These less popular attractions are often no less interesting, beautiful, or photogenic. Often times, they are even more worth the trip for the privacy and flexibility you get in your shooting options.

I’ve found that visiting less popular locations in less popular national parks still yields beautiful landscape photos. These landscape photos are more unique as fewer people have something which looks like your photo. This is easily the case for this photo of Capitol Reef National Park above. Despite the park’s proximity to 2 other more popular parks and position on a major highway, it’s one of the less popular parks in the nation.
2. Avoid Dangerous Wildlife

While this should go without say, some people need reminding. Stay away from the dangerous wildlife. I don’t care what the animal(s) in question looks like. If it’s bigger than you are, it can hurt you no matter how cuddly it might look. If the animal has a baby/young with it, then you had better leave it alone unless you want to risk an angry mother chasing you down. Not matter what the animal is, it’s not worth the risk.
Yellowstone has a reputation for having bears hover around humans for bad reasons. It’s not the only national park with bears. I saw some very unhappy park rangers last year in Grand Teton National Park because there were tons of photographers out taking photos of baby bear cubs out for the spring. Thankfully, the photographers kept their distance from the bears. However, it could have been an utter disaster if someone had decided to try for that close-up shot.
Bears are dangerous and destructive animals specifically to avoid. Just avoid them period.


I’ve included bison (buffalo) and elk on this list for a reason. They’re big mammals with the ability to seriously injure you with a simple “leave me alone” swat. People have been sent flying, been impaled, or even died because they messed with the wrong wild animal. By the way, these are not the only dangerous animals at national parks. Do your research and find out what you need to look out for in the way of wildlife at the park you will be visiting.
If you’re interested in wildlife photography, there’s really no better place to get shots of wild animals. They feel safe from hunting there and many of the predatory animals avoid areas with humans. However, go for the telephoto or extreme telephoto shot. Don’t risk your personal safety on getting a shot too close to a wild animal.
1. Choose Equipment Carefully as Lots of Equipment Gets Heavy Really Fast
As a photographer, it’s really easy to collect camera gear. It’s also really easy to want to take it all with you just in case you need that specialty lens, filter, or other doodad in the field. I’ve been there. I’ve carted lots of gear around which I don’t need. My spouse can tell you just how much I’ve packed around on the both of us and just how often I don’t use that extra gear.

The truth is that you probably won’t need most of that fancy gear for the shot you’re going for. It’s just extra unnecessary weight. It’ll drain your energy quicker than if you didn’t have it in tow.

If you’re planning on taking long hikes for your shot, such as into the Teton Mountains of Grand Teton National Park below, you should take only the bare essentials. It’ll turn into a long, unpleasant, and tiring hike if you don’t lighten your load.

If you take the time to empty non-essential camera gear out of your camera bag before embarking on a photo excursion like this, your back and feet will thank you. I know. Mine do all the time.
Conclusion
If you want to take amazing photos in national parks, then these 5 tips will help you immensely. Remember to check with park rangers for good sites and times, avoid the heat of the day and overly crowded days and times, seek out places where other people don’t go, avoid dangerous wildlife, and be selective with your camera gear in the field. With these tips, you’ll find that your national park photo excursions go much more smoothly and yield photos you can be proud of.
Got any more tips which we missed? We’d love to know. Share them in the comments section below so we all can learn together.

Best Sellers
Cramer Imaging Newsletter

Receive monthly updates in your inbox from us.

